A link to our Shop

At times we have to choose between the path that is conventional and the path that is not. In today's world that once worn path that our great grandparents traveled is so overgrown and forgotten that it barely exists. Our goal is to reforge that forgotten path and make it new again.

The Family Eggers

The Family Eggers
Showing posts with label Gardening. Show all posts

Tuesday, April 8, 2014

Green Tomato Jam

Green Tomato Jam
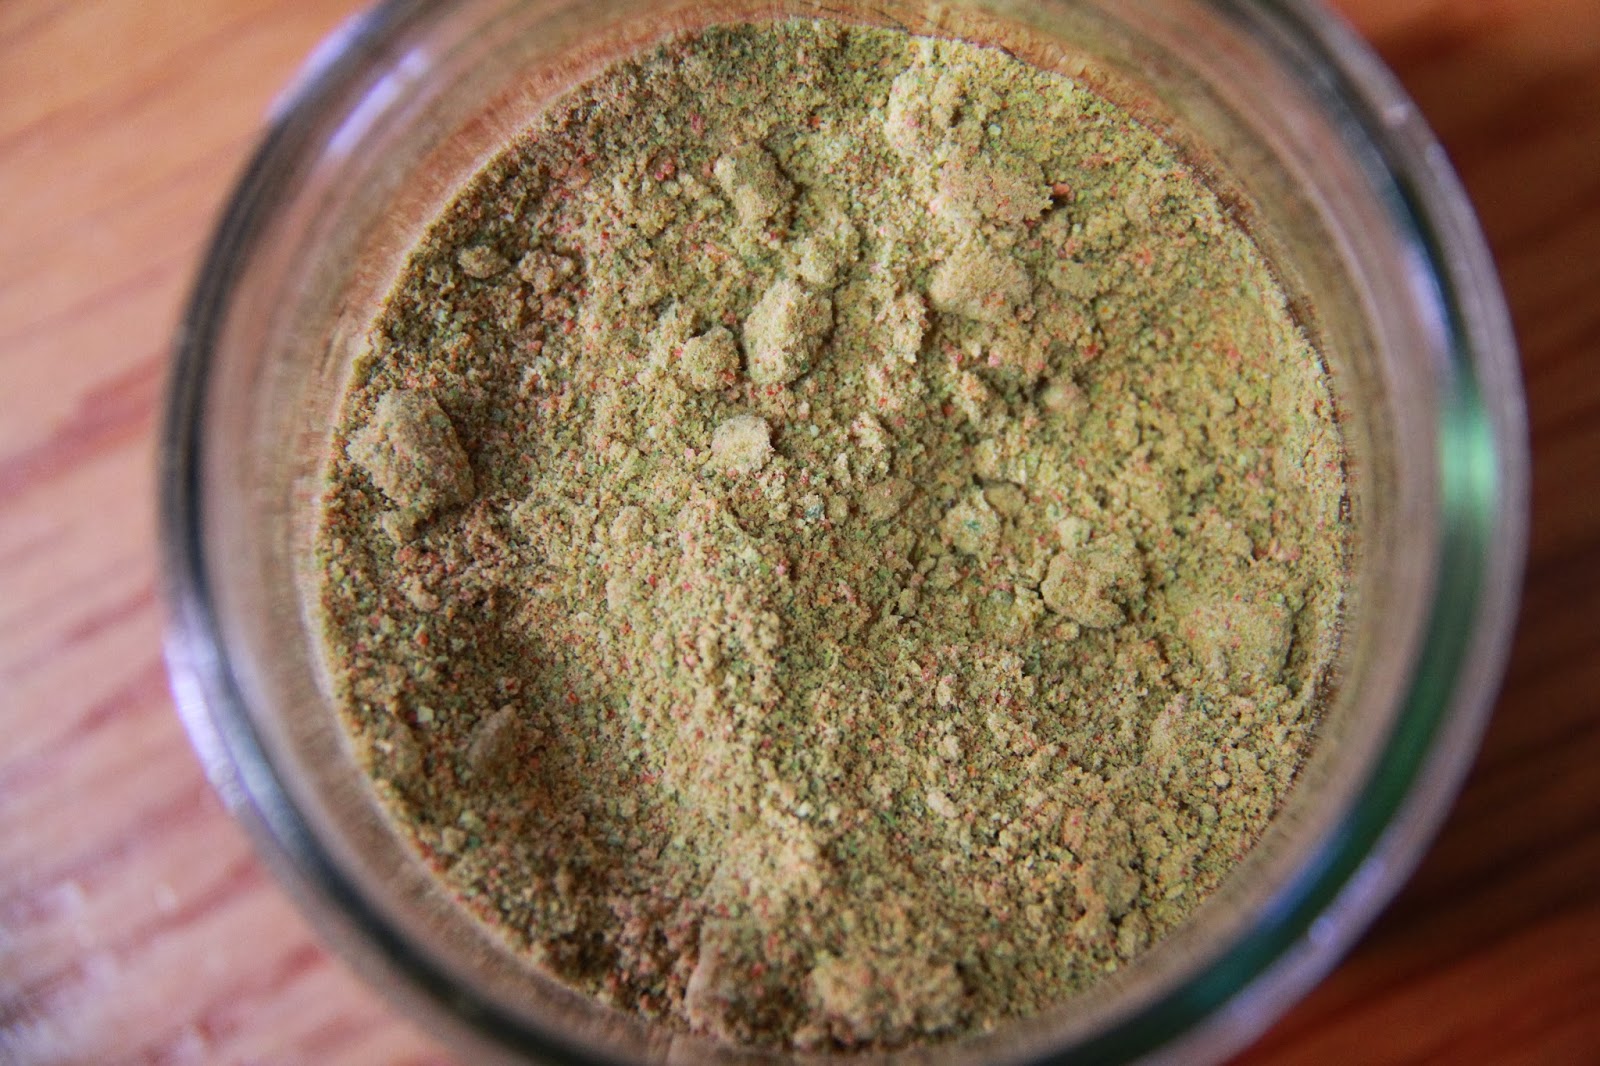
As we begin the season of spring with the seeding of lettuce and tomato plants indoors, the rewards of last year's harvest continue to grace our table.  Green tomato jam is one of the experiments of last fall as the frost loomed near and our tomato plants were still lush with unripened fruit.  We also dehydrated and ground some of these green tomatoes into powder (click here for the tomato powder post).  After a bit of research, Joe and I came up with the following jam recipe.  Use the method as a guide, but remember to always follow the instructions of your particular equipment and ingredients!

Ingredients:
12 cups green tomatoes, chopped
1 lemon, cut in half
4" bit of ginger, peeled
1/2 tsp cinnamon
1/2 tsp allspice
1/2 tsp nutmeg
1/4 tsp clove
14 T pectin
10 cups sugar

Method:
If you know your way around jam/jelly making follow your normal jam procedure; if you don't have much experience, your pectin carton should have specific instructions for when to add pectin and sugar.

Place jars in a hot water bath to preheat and sanitize.  Sanitization requires boiling for 10 minutes, according to the USDA click here to see the USDA Guide to Home Canning.

Put tomatoes, lemon and ginger in a blender until smooth or run tomatoes through a food mill to remove seeds and skins.  Everything pureed nicely in our blender so we felt no need to use a food mill.  The seeds remain, but that is part of the charm of this jam in our opinion.  The goal with the blender was to chop the tomatoes, lemon and ginger as fine as possible.  Possible chopping alternatives would be a grater, food processor or chopping with a knife.  It's up to you!

Transfer to a large cooking pot, add spices and bring to a boil on the stove, stirring occasionally until the water is reduced and the tomatoes are nice and thick.

Add pectin and stir.  Bring to a boil while stirring occasionally.

Add sugar and stir.  Bring to a roiling boil.  Boil and stir for 2 minutes.

Ladle into prepared jars and cap with lids and rings.

Process in a hot water bath for 10 minutes.

Saturday, March 22, 2014

SEED CLASS - combining lesssons of biology, math and writing


un-sprouted peas
We have a theory that knowledge will only be maintained by a child if they think that knowledge is interesting or useful.  As a society we often do not give our children enough credit for their reasoning, their logic and their motives.  We as a society also seldom make full use of the learning potential.  We as parents are trying to remedy that in regards to our children.

LESSON PLAN:

We have a lot of old garden seeds that for lack of space in the garden we have failed to plant. Last week Mackenson and I started our latest science experiment, sprouting pea seeds in moistened paper towels.  We had a few different kinds of pea seeds, all of different ages.  We are sprouting approximately 100 seeds and our methods are below:

Items needed:
1.  seeds of choice:  we had and used pea seeds.
2.  paper towels
3.  zip-lock bags

Directions:


1.  In a paper towel place 20 pea seeds in a grid type pattern.
2.  Fold the paper towel to keep all of the seeds contained.  We actually placed another paper towel over the top before folding.  Kind of like making a bed with a blanket.
3.  Moisten the paper towel with water, but do not make it sopping wet (only moist).
4. Place moistened paper towel with seeds into a plastic ziplock bag.
5. Seal the bag and place somewhere warm (like on on of the refrigerator).
sprouted peas, some were planted directly into the garden and some into indoor pots for further study.


When we look at the seeds we count how many sprouted after 10-14 days and how many did not.  Since Mackenson is learning fractions, we are going to determine the fraction of seeds that sprouted from our really old seeds compared to the fraction that sprouted of our newer seeds.

Science Lessons:
1.  How does a seed sprout?
2.  What does a seed need before it sprouts?
3.  How does the age of the seed affect sprouting?

Writing/vocabulary
1.  Make the child write the answers to the above science questions.
2.  Introduce vocabulary words of "sprout" and "germination".

Math:
1.  What fraction of the seeds sprouted from the older seeds
2.  What fraction of seeds sprouted from the newer seeds

OTHER POSSIBILITIES:
monocot vs. dicot seeds / plants
anatomy of a seed


Monday, November 4, 2013

Tomato Powder

a pint of tomato powder
 With the end of the busiest growing season we find ourselves with an abundance of unripe green tomatoes.  As an alternative to filling our shelves with can after can of tomato sauce, Joe and I opted to try something different.  We would dry and pulverize the last of the garden tomatoes.  We spent a fair amount of time at our sink cutting and seeding tomatoes.  It was time consuming, but companionable work. 
green cherry tomatoes
ripe cherry tomatoes


putting tomatoes onto dryer rack
 The food dehydrator was filled to capacity with tomatoes of different variety and ripeness.  The smaller pieces dried faster and were removed while the thicker pieces were left to dry completely. 
tomatoes in the dehydrator
 As the tomatoes dried, I put them in a large zippy bag in the freezer.  According to Mary Bell in her book Mary Bell's Complete Dehydrator Book, freezing fruits and vegetables prior to blending them into a powder will give better results (click here for a link to this book on Amazon). 
dehydrated tomatoes
ready for the blender
 The tomatoes ground into a powder in our Vitamix blender quite nicely.  All those tomatoes fit into a pint jar that now sits happily in our pantry.  I plan to use this lovely powder to make soup, add it to bread recipes, stir fries, etc.  Since it is largely made up of green tomatoes, I will have to remember to flavor the dishes I prepare with it to account for a more tart tomato taste. 
tomato powder

Sunday, October 20, 2013

THE LONE MELON

We planted one watermelon plant and a few cantaloupe on our straw bale garden.  For most of the summer our watermelon and muskmelon vines were a disappointment.  In August we noticed that a single watermelon developing well.  This was a nice surprise considering all of our cantaloupe vines on the straw bales only produced softball sized melons.  We got around to picking this watermelon about a week ago after it finally ripened.  This was the very last item harvested from our straw bale garden and was well worth the wait.  Our first taste was with one of our chestnut meals (see post).
 

Tuesday, October 8, 2013

Say hello to my little friend(s).

The term “parasites” often relates images of tapeworms, head lice or other undesirable critters that children can bring home from school.  When a gardener thinks of the word parasite a much more pleasant image comes to mind.  We recently found this guy on our tomato plants.  He (or she) is a tomato hornworm (Manduca quinquemaculata) and can eat his weight in tomato plant and fruit every day.  He is a large caterpillar about the size of a bic pen only much more plump (and green).  All of the little white bumps are cocoons of a brachonid wasp called Cotesia congregatus (syn. = Apanteles congregatus).  These little wasps lay eggs under the skin of the caterpillar.  The eggs hatch and the larvae eat the large green caterpillar from the inside.  When they have had their fill they burrow through the skin to the outside of the hornworm and spin their cocoon where they emerge several days later. These cocoons are all of those little white specs that you see.  The cycle then repeats.  The more wasps, the fewer hornworms and organic gardening works at its maximum efficiency.  The beautiful albeit disturbing way of nature.

Wednesday, October 2, 2013

Mother Earth News Fair


http://www.pdfmagazines.org/uploads/posts/2012-09/1347642415_mother-earth-news-october-november-2012-1.jpgIn September we attended the Mother Earth News Fair in Seven Springs, PA.  This is our second year attending the fair.  For those of you unfamiliar with Mother Earth News, it is a publication focused on simple living and includes many articles on gardening, homesteading, animal production, hobby farms and much more.  The “Fair” is actually a three day conference with displays, notable speakers, notable authors and many vendors.  During last year’s conference we were introduced to the concepts of biochar, vermicomposting, home fermentation as well as expanding our knowledge of wild foraging, soap making, and gardening.  Temple Grandin, a very notable animal behaviorist, spoke last year concerning large animal behavior and how natural behaviors can influence your farm’s design.  This year’s conference was some of the same, but also increased our knowledge about cool weather gardening, home remedies with natural herbs, home-made cosmetics and the current food rights battle between large agribusiness and the remaining small market niche farmers.  Ed Begley Jr., who is a well known actor and environmentalist, spoke this year about energy consumption.  It would be nearly impossible to relay every lesson and new concept in this blog, but for anyone with an interest in living a more basic and enriched life, the magazine and the annual conferences are highly recommended.  Stay tuned to our blog as many of the upcoming posts will relate back to the conference we attended.

Monday, September 30, 2013

Compost is for the worms

As most of you know we are avid gardeners.  However, we move locations every two or three years.  It seems to be every time we get a garden almost to where we like it, it is time to move on.  However, one thing we are sure of, we leave our properties with much more fertile soil than when we moved onto them. 
Notice the layers.  The dirt at the bottom is nearly top grade compost, while the raw material on top is all of ourrecent additions.

About 1/2 emptied out.


After a little over a year of composting we have a nice little pile of grade-A dirt to show for it.  Most of the compost gurus state that you need to turn and aerate your compost every 4-6 weeks and carefully monitor it to have a precise ratio of green and brown inputs.  This precision would be great if I had ambition and patience to do such things.  However, I do not have that kind of patience.  What I have done is collect the best composting components I can find.  I have been collecting coffee grounds from the cafeteria and 3 different coffee stations at my office for over a year.  I have also been collecting egg shells,banana peels and apple cores from coworkers who probably think I am off my rocker.  Last fall we collected enough fallen leaves to fill up our rather large bin twice.  This combined with our kitchen scraps and some biochar (more on this later) have led to quite a haul of quality compost.  Despite lack of aeration, our compost pile seems to do its thing quite quickly.  If we fill up our bin to overfull status until it heaped over the top with dried leaves, weeds and coffee grounds; within a week it will down nearly a foot.  This indicates that the raw inputs are composting quite quickly.  Though admittedly, some of it may simply be packing down as well.  On 29 SEP I emptied out the finished component (and mostly finished component) from the bin.  To my amazement we had an extremely large population of earthworms helping out the process.  If you read our previous post "We have worms" you know that we also maintain a small worm bin for vermicomposting.  This past spring I seeded the compost bin with a handful of red wigglers.  From the looks of it, the initial population has increased by 10 fold or more since their introduction into the compost bin.  Earthworms are amazing at converting raw vegetable matter into dirt and are probably a large part of the reason we don't have to work too hard at getting our compost perfect....the worms are doing it for us.  So there you have it a complete post about dirt.  I hope you enjoy.
The final result with the finished and nearly finished compost in the pile.  Inside the bin the compost was quite compacted.  After removing it and putting it into a pile it is quite light and "airy" which gives the impression that more came out than was ever in.

Wednesday, October 17, 2012

We have Worms


Well I figured after about a month it was time to share with the world my vermiculture experience.  About a month ago the Eggers' attended the Mother Earth News Fair in Western PA.  One of the lectures that Mackenson and I went to was about Vermiculture or the culture of worms.  Composting through vermiculture seems like a good idea considering the end result of the compost being absolutely incredible with vermicompost being much higher in soil nutrient than regular compost.  Mackenson and I were both stoked about this prospect.  Mackenson was more excited that mom and sister are both vermiphobes and he is not and myself being excited that our food waste can be turned into something very useful in a fraction of a time of regular the composting process.  Macky continually uses talk of worms to gross out the girls in the house and I use it as a teaching point for the kids illustrating how food waste is turned into worm poop dirt.

TECHNICAL DETAILS:
I started out building a bin out of a rubber-maid tote based roughly on a design I had seen at the Mother Earth News Fair in mid-August.  I drilled some holes in the lower sides large enough for some 3/4" PVC pipe to fit through each about 1/3 of the way in from the sides.  Two pieces of pipe were cut slightly longer than the width of the bin.  In these two pieces I drilled many (and I do mean many) very small holes through the pipes.  The pipes were then placed width-wise though holes in the bin.  Caps were placed on the end of each pipe with similar holes drilled through the caps.  All of this was done to increase airflow though the system.  About 12  3/8" holes were drilled in the center of the container lid in a circular pattern.
I stacked the bin with enough dry shredded paper to fill the bin completely then added about 2 cups of water to wet down the paper.  I then added a few vegetable scraps in one corner and bought some "red wigglers" from the local pet-smart.  The next day I joined a worm forum.
Luckily a fellow vermiculturist (thanks Brenda) I was able to get additional worms, some starter vermicompost and some good advice.
PROGRESS:
Its been about a month now, and my population seems to already be exploding as there seems to be a plethora (love that word) of worms now.  I was feeding once or twice a week, now it seems like I can not keep enough food in front of these critters.  Additionally I have noticed more worms congregating along the sides of the bin near the lid.  Luckily escape is difficult from my system due to design, but this is still a concern.  I have noticed that there is more condensation on the lid than in the past and I think this may be the reason for the current worm protests as perhaps moisture levels are becoming too great.  I will add more dry shredded material in the next day or two to see if this remedies the problem.  I am also considering starting a second bin in the next week or so.
That is all for now in the adventure.