A link to our Shop

At times we have to choose between the path that is conventional and the path that is not. In today's world that once worn path that our great grandparents traveled is so overgrown and forgotten that it barely exists. Our goal is to reforge that forgotten path and make it new again.

The Family Eggers

The Family Eggers
Showing posts with label Food preserving. Show all posts

Saturday, March 28, 2015

Pumpkin Pancake Mix

To me there is no better way to show someone how amazing they are than with a homemade gift, a piece of one's self.  On top of that, what better gift is there than food?  It's comforting to know someone out in the world wants to provide for your well being - your physical existence.  To share food is after all a basic act of coexistence within social groups.  A gift of food is a gift of life and of love.  That's the message I aspire to convey when giving a gift.  I am giving life and love...and with this pumpkin pancake mix recipe, also the story of how it came to be.

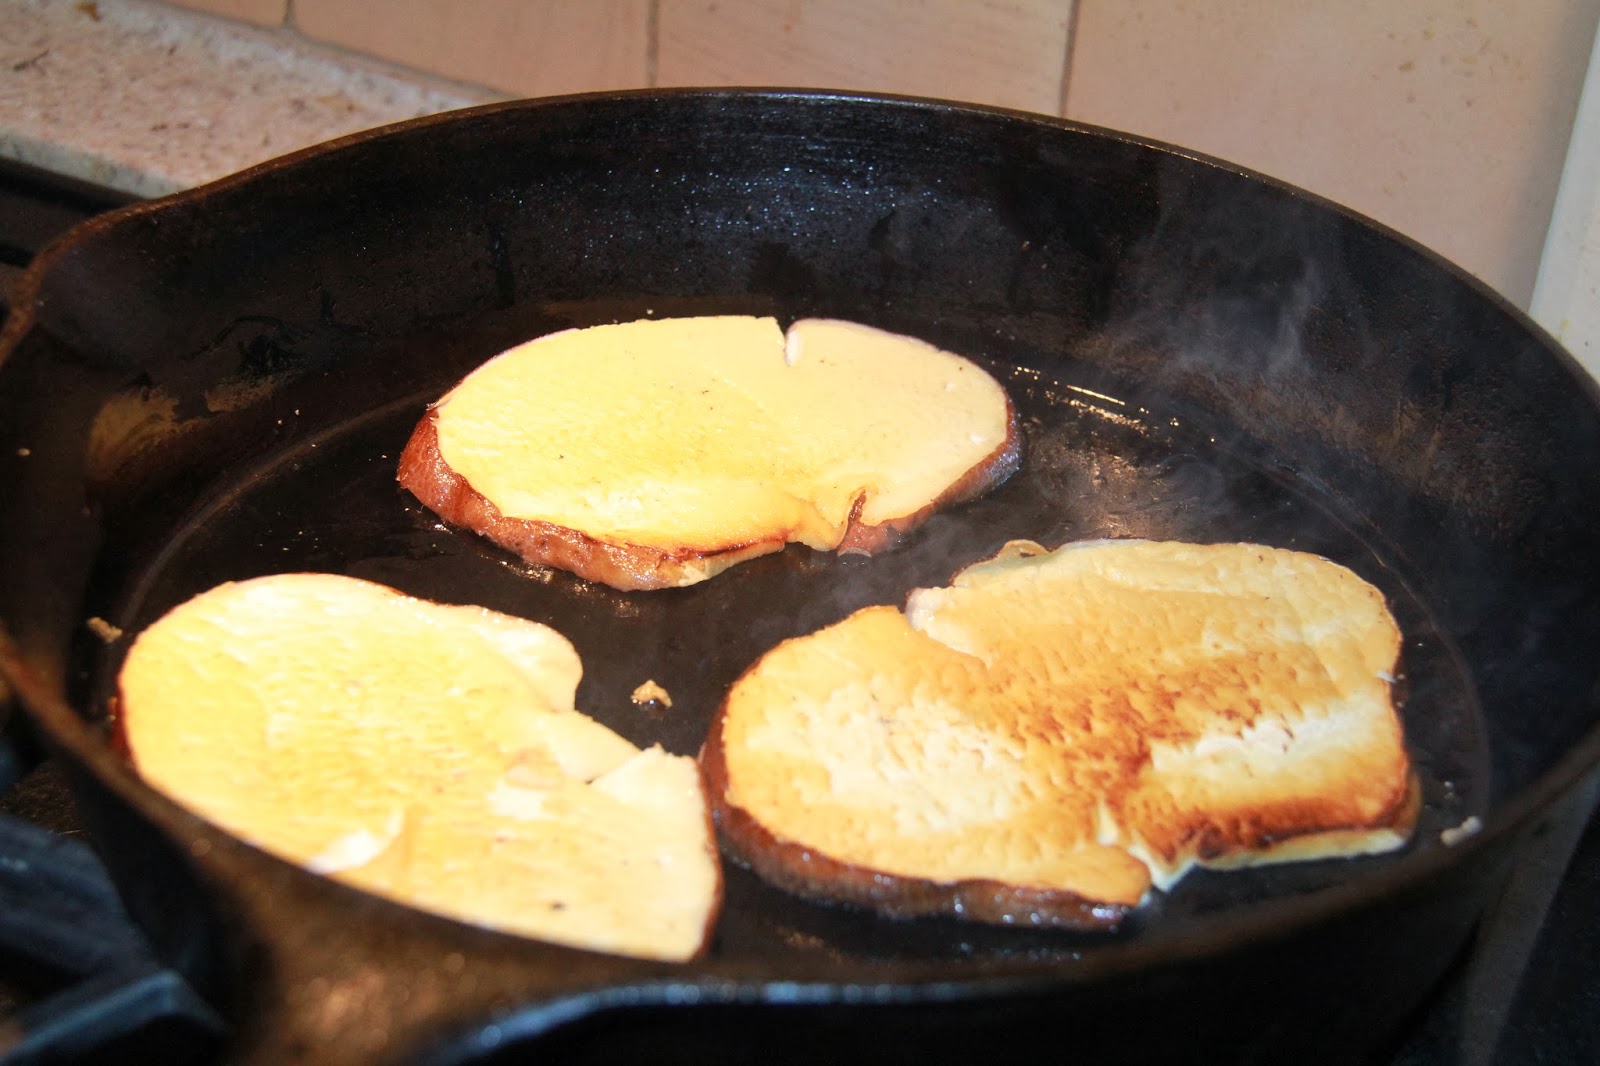
The idea for a dry pumpkin pancake mix came from two directions.  One, our family camps frequently in the warm months.  We like to cook, to eat homemade meals, so because of that we choose to cook during vacations and weekend camping trips.  At least most of the time.  Our kids love pancakes so we tried the "just add water and shake" pancake mix in a jug.  That gave me the idea for a homemade dry pancake mix.  We could make this better.  I was sure it was possible, even when I couldn't find much information on how to do it via internet searches and recipe book thumb-throughs.  Joe and I were already pretty good at making pancakes, so I pieced together a few of our recipes to include dry versions of wet ingredients (eggs and milk) in order to reduce the amount of liquid that would have to be added to the dry mix during preparation.   

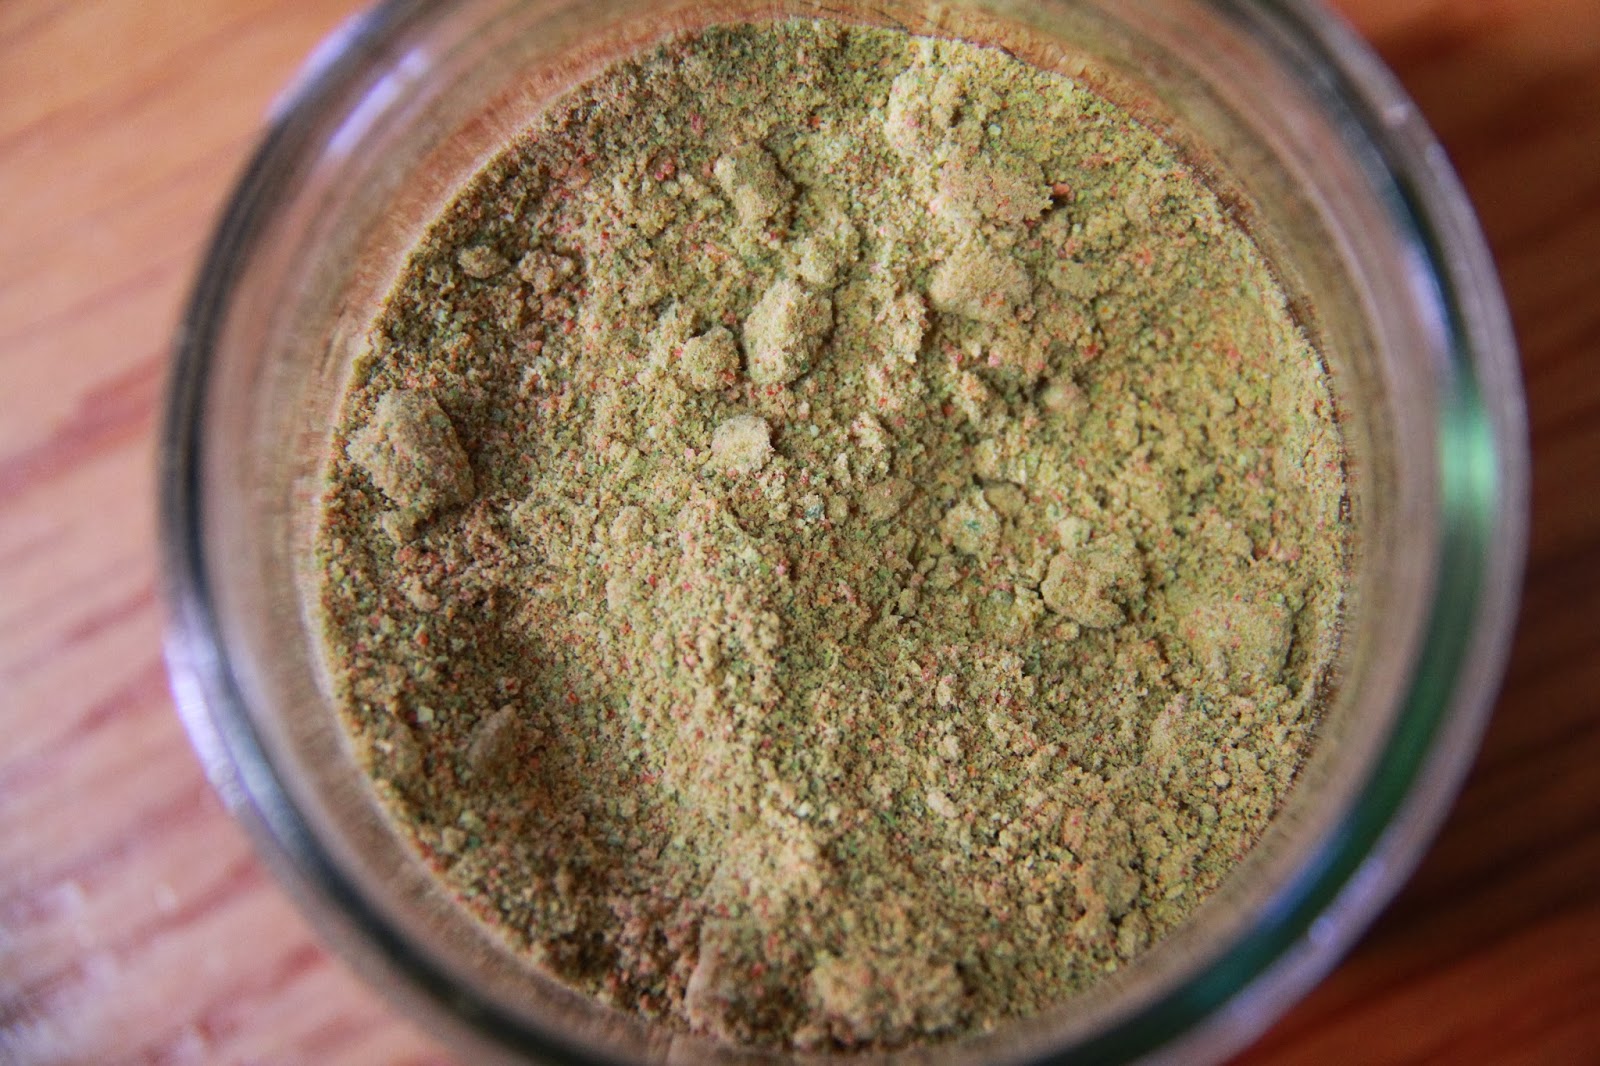
The second part of the recipe, the pumpkin part, came while casually shopping in a roadside store that sold local produce and flowers, souveniers, and a few grocery items, including a deli counter, old fashoned candy and spices.  Neat place.  One of the items for sale was a pumpkin muffin mix.  There had to be pumpkin in there.  It was a dry mix, so the pumpkin was dried.  Conveniently, it was autumn and pumpkins were in no short supply.  Back at home and armed with a pressure cooker, food dehydrator and vitamix blender I was able to produce pumpkin powder.  I added it to the recipe and with a few tweaks, pumpkin pancake mix was created.    See how we made pumpkin powder here.

When the winter holidays arrived Joe, Marie, Mack and I decided to share this mix with our friends and relatives.  Once a week the four of us share a "big breakfast", which for us means we have a meal that takes time and effort to create and brings us all to the table to eat, share stories or jokes, talk about things we've done in the week, or introduce new ideas for the kids.  It is time spend living with and loving each other.  To share that experience, that connection with others, we sent a package of pancake mix to dear friends.  

Pumpkin Pancake Mix:
1 cup flour (wheat or buckwheat)
1/4 cup cornmeal
2 Tablespoons pumpkin powder (or 1/2 cup pumpkin puree for wet mix)
2 Tablespoons flax meal 
1 Tablespoon sugar
2 tsp dried egg white (or 1 egg for wet mix)
4 Tablespoon buttermilk powder (or 1/2 - 1 cup milk/buttermilk/whey for wet mix)
2 tsp baking powder
1/2 tsp baking soda
1/8 tsp salt
1/2 tsp cinnamon
1/4 tsp ginger
1/8 tsp cloves
1/8 tsp nutmeg

Wet Ingredients:
2 cups water (or to desired batter thickness)
1 tsp vanilla
1 Tablespoon oil (optional)


Want to see how I made pumpkin powder?  See the post here http://familyeggers.blogspot.com/2014/04/pumpkin-powder.html


Thursday, April 10, 2014

Eggs - What is the Difference?


Working with food safety and having an extreme interest in agriculture I have been asked several times about the differences between the quality of farm fresh eggs vs the ones you find at the grocery.  Though this can be a dissertation in itself, I will leave you with a couple points and address a few misconceptions.

Myth:  Farm eggs are better because they are fresher. 
    The truth is that freshness, or rather time between when the egg is laid compared to when it is consumed, is actually a minor consideration when considering which is better.  An egg can keep at room temperature for a much longer time than most people think and longer than the FDA/USDA folks recommend.  If you don’t believe me consider this:  a chicken can lay an egg every 28- 36 hours.   A clutch of eggs can number up to 20 eggs before a setting hen will begin to sit on the nest and begin incubation.  This equilibrates to about a month between when that 1st egg was laid and when the hen started sitting on it.  Obviously it did not spoil in that month and during that month the hen did not refrigerate that egg.  Conclusion:  Good eggs do not spoil very quickly even at moderate temperatures.
Fact:  In reality egg at the grocery store is probably fresher as large egg production facilities collect eggs, clean them and refrigerate them within minutes to hours of them being laid.  A farm egg could easily sit out for a day or more before being collected.  However, like was said above, freshness is only a minor consideration.
Myth:  There is no difference between farm eggs and commercial eggs in regards to quality, nutritional value and animal welfare. 
Fact:  There are a number of differences.  These differences all relate directly to how the animal is raised and what it is fed.  Common sense dictates that an animal with a more well-rounded diet with access to varied food inputs will be healthier than animals that are confined with a poor (bare minimum) diet.  Commercial establishments balance food inputs compared to egg output and look for the most economical balance with minimal regard for animal husbandry practices.  Often this leads to poor nutrition, antibiotic prophylaxis, and overcrowding.
Besides the obvious fact that chickens raised in their natural habitat is probably better husbandry then raising chicken in extremely crowded wire cages, there are a number of reasons to choose free range farm eggs.  Eggs that are farm raised tend to have higher values of Omega-3 fats, Vitamin E, vitamin D, folate, and a number of antioxidants.  Commercial eggs often fall behind in nutritional value compared to farm eggs.  The proof is in the pudding or in this case the egg.  Outside of expensive nutritional tests, a visual test will quickly show the average person the difference.  Most farm eggs will have darker yolks, appear less watery, have yolks that stand “taller” and have thicker shells.      

Notice the difference?  The egg on the left is from a local farm and the egg on the right is from the local supermarket.  The left egg has a darker yolk, the yolk is more elevated (raised) and appears less watery
DISCLAIMER:  There are other considerations that people should take to heart as well.  Although farm eggs are likely to be healthier, the unregulated diet of the hens could expose them to sources of toxins such as heavy metals, pesticide residues etc.  It is always a good idea to be familiar with the farm from which you buy your eggs.  Also, pathogens from private flocks (as well as commercial) can make their way into the eggs.  Cook your eggs well.

REFERENCES / FURTHER READING

Tuesday, April 8, 2014

Green Tomato Jam

Green Tomato Jam
As we begin the season of spring with the seeding of lettuce and tomato plants indoors, the rewards of last year's harvest continue to grace our table.  Green tomato jam is one of the experiments of last fall as the frost loomed near and our tomato plants were still lush with unripened fruit.  We also dehydrated and ground some of these green tomatoes into powder (click here for the tomato powder post).  After a bit of research, Joe and I came up with the following jam recipe.  Use the method as a guide, but remember to always follow the instructions of your particular equipment and ingredients!

Ingredients:
12 cups green tomatoes, chopped
1 lemon, cut in half
4" bit of ginger, peeled
1/2 tsp cinnamon
1/2 tsp allspice
1/2 tsp nutmeg
1/4 tsp clove
14 T pectin
10 cups sugar

Method:
If you know your way around jam/jelly making follow your normal jam procedure; if you don't have much experience, your pectin carton should have specific instructions for when to add pectin and sugar.

Place jars in a hot water bath to preheat and sanitize.  Sanitization requires boiling for 10 minutes, according to the USDA click here to see the USDA Guide to Home Canning.

Put tomatoes, lemon and ginger in a blender until smooth or run tomatoes through a food mill to remove seeds and skins.  Everything pureed nicely in our blender so we felt no need to use a food mill.  The seeds remain, but that is part of the charm of this jam in our opinion.  The goal with the blender was to chop the tomatoes, lemon and ginger as fine as possible.  Possible chopping alternatives would be a grater, food processor or chopping with a knife.  It's up to you!

Transfer to a large cooking pot, add spices and bring to a boil on the stove, stirring occasionally until the water is reduced and the tomatoes are nice and thick.

Add pectin and stir.  Bring to a boil while stirring occasionally.

Add sugar and stir.  Bring to a roiling boil.  Boil and stir for 2 minutes.

Ladle into prepared jars and cap with lids and rings.

Process in a hot water bath for 10 minutes.

Friday, April 4, 2014

Pumpkin Powder

Dehydrated pumpkin turns into pumpkin powder quite nicely.
Pumpkins Decorating the Front Yard in Autumn
A Pressure Cooker/Canner is Used to Cook Pumpkins Rapidly
Raw Pumpkin (back) and Cooked Pumpkin (front)
Pumpkin Dried in Food Dehydrator
Dried Pumpkin Coming Out of the Dehydrator to be Frozen
Dried Pumpkin up Close
Dried Pumpkin Bagged and Placed in the Freezer

Frozen Pumpkin is Easier to Grind in the Blender Because it is Hard
Dried Pumpkin Ground in the Blender
Final Product: Pumpkin Powder

Pumpkin powder can be added to soups, baked goods such as muffins or pancakes, tomato pizza/pasta sauces, bread, casseroles - anywhere you would use pumpkin puree!  My favorite is pumpkin pancake mix we created and gifted to friends and family one winter. 

Wednesday, March 26, 2014

Knot just another weed

This is an older post from last year that was never published, but since spring is in the air, and this is one of the first forage-able crops of spring we thought it was worth publishing it now.  Knotweed shoots start appearing in mid April here in southeastern Pennsylvania.  Look for it along streams, but it will grow almost anywhere.  Patches of knotweed from last year will look similar to short bamboo.  Click for more information on Japanese Knotweed from wildman Steve Brill.


The early bird gets the worm, but in our case the early forager gets the Japanese knotweed.
Japanese knotweed is considered by most to be a highly offensive weed.  It is an introduced species and highly invasive.  To others it is considered a food source, comparable to rhubarb.  One person's weed is another person's dinner.  You know? 
Joe and I first heard about the plant last fall, well past harvesting time.  We spent the winter dreaming of an overly abundant, free source of rhubarb substitute.

Spring at last!  After only a few foraging trips we have close to 10 bags of chopped knotweed in our freezer in addition to having made one batch of knotweed jam, one of jelly, knotweed bars and a small amount cooked and eaten in oatmeal. 
Joe and I used a recipe from ... The 3 Foragers blog.
Knotweed is one of those early foraging plants and one of the first things that is easily obtainable in the spring.  It is tart but not as tart as rhubarb and resembles asparagus. 

Stay tuned for upcoming recipes concerning knotweed.

Monday, March 24, 2014

Kraut can be more then just cabbage


We grew turnips this year on a whim.  We tried them in soup, and after two tries determined that turnips are probably the very best way to ruin an otherwise good stew/soup.  We baked another with some potatoes with somewhat better results, but potatoes alone are better than potatoes with turnips.  Only one thing left to try and that is ferment them.  For this we took our remaining 5 large turnips and shredded them with a pound of store bought carrots.  We added them to a small fermentation vessel (a 1 1/2 liter sized whey protein container I had acquired) and waited to see the results.  To the veggies we added non-iodized salt, 1/2 cup of vinegar and filled the rest with leftover whey from yogurt making.

The results were pretty good.  I do not think it tastes anything like sauerkraut, but still does have that sour taste.  The closest thing it tastes like is a pickled carrot salad.  It is a good side with a corned beef or other winter warming type foods.

The pictures to the right are our second batch (currently in progress).  One incident to note with this latest batch is that the fermenting microbes became overzealous.  As a result the water and whey bubbled so much that the container overflowed and made a mess on the counter.

FOOD SAFETY NOTE:   Even though I could not find a single incident of food poisoning associated with fermented vegetables in the Center for Disease control database (I LOOKED);  we perform a quick boil of our fermented vegetables.  This may reduce some of the probiotic qualities of the kraut, but it gives us peace of mind in regards to food safety precautions.


Monday, November 4, 2013

Tomato Powder

a pint of tomato powder
 With the end of the busiest growing season we find ourselves with an abundance of unripe green tomatoes.  As an alternative to filling our shelves with can after can of tomato sauce, Joe and I opted to try something different.  We would dry and pulverize the last of the garden tomatoes.  We spent a fair amount of time at our sink cutting and seeding tomatoes.  It was time consuming, but companionable work. 
green cherry tomatoes
ripe cherry tomatoes


putting tomatoes onto dryer rack
 The food dehydrator was filled to capacity with tomatoes of different variety and ripeness.  The smaller pieces dried faster and were removed while the thicker pieces were left to dry completely. 
tomatoes in the dehydrator
 As the tomatoes dried, I put them in a large zippy bag in the freezer.  According to Mary Bell in her book Mary Bell's Complete Dehydrator Book, freezing fruits and vegetables prior to blending them into a powder will give better results (click here for a link to this book on Amazon). 
dehydrated tomatoes
ready for the blender
 The tomatoes ground into a powder in our Vitamix blender quite nicely.  All those tomatoes fit into a pint jar that now sits happily in our pantry.  I plan to use this lovely powder to make soup, add it to bread recipes, stir fries, etc.  Since it is largely made up of green tomatoes, I will have to remember to flavor the dishes I prepare with it to account for a more tart tomato taste. 
tomato powder

Friday, November 1, 2013

Mint Tea


What is better than a nice cup of herbal tea on a cold evening?  It warms you us as it soothes the mind and eases the tension from the day.  Tea is also good in the morning for the kiddos when they have a sore throat or stuffy nose.

This summer we enjoyed herbal tea from our lovely garden mint patch.  Now that fall is here, I am preserving the mint to use as dry tea.  Since my kids like tea but don't like to scoop out loose tea with the metal tea ball, I bought fill-able paper tea bags.  I filled and sealed the bags with dried mint and now we have ready to use tea in our pantry.

First I dried the mint leaves in our food dehydrator.  I used a fruit leather liner under the mint to keep any small pieces from falling through the bottom.  To prevent the mint from blowing around inside the dehydrator I put a regular mesh tray liner on top.  This combination seemed to work well.  If you don't want to use a dehydrator you could air dry the herb by tying a string around a bundle and hanging it upside down until completely dry.   
fresh mint on a dryer tray
mint between two liners
When the mint was completely dry, it was easy to move from the dehydrator tray to a deep mixing bowl by rolling the two liners up like a jelly roll.  I had to pick some of the stems out of the mesh, but it slid right off the fruit leather liner's smooth surface.  Next, I removed the leaves from the stems by gently crumbling them with my hands.  This deep bowl kept all the little pieces from scattering about. 
leaves and stems together
stems were removed and composted

Now came the really tedious part.  I filled the bags with crushed mint leaves using a spoon.  The bags I bought are T-Sac size 1, and are available from Amazon.  They are advertised to hold two teaspoons.  Since the bags are biodegradable they are going in the compost after tea is enjoyed.   
filling a bag with mint leaves
Each bag was sealed using our vacuum sealer.  This was a bit of a tricky process.  I had to use a vacuum sealer bag because the tea bag did not trip the sensor to start the machine.  The tea bag wasn't going to be air-tight so I stopped the vacuum with the stop/seal button and just used the heat feature of the machine.  I have heard that a flat iron or clothing iron works well for sealing the bags.   
sealing the tea bag
Now when we want a warming, soothing mug of tea all we have to do is put the kettle on and open the pantry door. 

tea in the pantry

Tuesday, October 29, 2013

Boletes


Bolete species growing under a pine in October.  Notice the pine needles.
We have recently expanded our mushroom foraging species list to include Bolete species.  Until now we have avoided most ground mushrooms, especially those with the traditional mushroom shape.  Most of the toxic species of mushrooms are the ones that grow directly on the ground.  Through reading and internet research we were able to positively identify the bolete family of mushrooms and realized that the vast majority of boletes are edible, with only a few exceptions.  Boletes are easy to identify, relatively safe, and very tasty.
Smaller boletes.  Notice the yellow pores under the cap.

How to identify a bolete:  The family of bolete mushrooms have pores instead of gills under the cap.  Simply pick the mushroom and flip it upside down.  Gilled mushrooms will have radial gills looking like spokes of a bicycle wheel.  Boletes will have pores that look like a sponge.

The poisonous boletes:  All texts agree that the toxic boletes share one or both of the following characteristics:

#1 The pore surface under the cap will be red or orange.   
#2 The flesh will stain blue or purple when bruised or cut.  

All the toxic species of bolete mushrooms have one or both of these characteristics.  That does not mean that just because a bolete stains blue or has reddish pores it is toxic, but it is a good starting point to exercise a lot of extra caution.  If neither of the above criteria are met, the mushroom is safe.

Just because it is safe to eat, it still may not be palatable.  There are a lot of bitter boletes out there that while technically safe to eat, a person probably would not want to due to flavor.  This is why it is still advisable to figure out exactly what it is that you plan to eat.  This includes identifying the species of bolete you plan on eating.  It is also advisable to try a small sampling of mushrooms prior to eating them just in case.  

Boletes can be sauteed with butter or oil, baked or even grilled.  They can be preserved by freezing, dehydrating, or even pickling. 

Warning: As with all wild foraged food do not eat anything unless you are 100% sure what it is and how to prepare it.  When in doubt throw it out.

Friday, October 25, 2013

IS THAT MUSHROOM SAFE?


IS THAT MUSHROOM SAFE?


Sulfur Shelf or Chicken of the Woods  (Edible -Choice)
The question and concern from family and friends when we tell them we forage for mushrooms (and other food) is sometimes overwhelming.  Though we appreciate the concern, we sometimes wonder why.  It is probably because of the lore behind mushrooms killing the unsuspecting person, or portrayal by the film industry with the assassin posing as a chef feeding his target a poisoned mushroom soup.  There is also the occasional report of a child (or drunken adult)  unsuspectingly eating mushrooms from the yard and ending up in the emergency room.  While all of these situations are plausible and can happen, they are all easily avoidable.

Though it is true that toxic and even deadly mushrooms are quite common, some basic safety tips will avoid poisoning for you or your family.  We are specifically talking about mushroom foraging, but the same rules apply for plant foraging.  

#1:  Do not eat anything if you are not 100% sure what it is.  We continually say this as does every person and book that teaches foraging.  It is the #1 most important rule….positive identification.  There are numerous field guides, identification guides and internet sites available.  A google search of foraging clubs and classes in your area can also be helpful to attend or join.  WHEN IN DOUBT THROW IT OUT!   

Destroying Angel (toxic / deadly)
 #2:  Know what NOT to eat!  Knowing what is toxic is probably more important than knowing what is edible.  If we think back to childhood, this was a basic premise that are parents instilled.  Stay away from things you know can harm you.  In the case of mushrooms, there are really only a few species that are truly deadly and a handful of others that will make you sick.  Learn how to identify these first.

#3:  Nearly all wild mushrooms need some processing before being consumed.  Most should be cooked whether by frying, boiling, baking or grilling.  Many can be dehydrated or pickled and a few can be frozen to be later used in your favorite dish.  Many field guides and internet sites have recommendations for preparation.    

#4:  Try only a small sample or taste the first time you try a new type of mushroom (or foraged food).  Wait at least 24 hours before consuming more (some guides recommend waiting 48 hours).  Even if you are sure about the mushroom (or any foraged food) you have, some people can adversely react.  Some wild mushrooms may not affect one person, but make the next person ill.  All people are not built the same in regards to what they can and cannot eat. 

If a person follows these basic rules, a safe and happy foraging experience will be the outcome.   Our ancestors followed these rules and most lived long happy lives.  There is a valid argument as to whether eating these "back to nature foods, could actually mitigate many of the chronic illnesses we have in the modern world.  Anecdotally, we have noticed a significant reduction in some of our minor chronic health issues over the past few years including allergies and gastro-intestinal problems.  This increase in health has coincided directly with our increase in dietary variability including wild and foraged foods.  We feel better physically and feel better socially by not contributing to the over-processed food industry.

Friday, October 18, 2013

Puffballs; The Gift


Word of our foraging is slowly expanding to new horizons.  Last week we were talking with a new-found friend (HI MANDI) and telling her about our foraging.  This week she brought us THREE puffball mushrooms of varying size that she had found in a local park.  After some quick research we deduced that they are in fact the purple spored puffball or Calvatia cyathiformis.  There are no poisonous look alikes (see bottom of post) so we went ahead and prepared a few for an evening snack.  We simply pan fried a few to see what they tasted like.  To our joy and amazement they are absolutely delicious.  It is very difficult to compare the taste to anything else, but they have a sweet and savory flavor.  We pan fried (sauteed) and froze what we were not going to eat immediately, and will have the rest with or on our Friday night pizza.  We want to give a big shout out to Mandi.  We owe you (and your husband and kids if you choose) a 6 pack of beer, some handmade soap and maybe even a dinner at our place sometime.  Even when we give you all of these things, we will still get the better part of the deal.  These are quite possibly the best mushrooms ever to cross our palates.


Puffball mushrooms are large mushrooms found in midsummer into the fall.  Large puffballs such as the "Giant Puffball" and "Purple Spored Puffball" can get the size of a soccer ball.  Most puffballs are edible except the "Pigskin Poison Puffball."  The "Pigskin Poison Puffball" will have a dark purple to black center when cut into.  All other puffballs are edible as long as the inside flesh is white.  When a puffball ages the white flesh will turn orange to green and will be past its prime.


Warning:  Though puffball mushrooms are ideal for beginning shroomers, there are a few easy ways to avoid mixing them up with anything else.

Puffballs smaller than a fist  could be confused with immature Amanitas (poisonous), but are easily distinguished when cut into.  The puffballs will have no evidence of an internal stem and no gills.  Amanitas have both.

Poisonous Earthballs  (Scleroderma species) are very hard and are black on the inside unless very young.  Puffballs are quite soft throughout there life.

REMEMBER:  Internal white flesh means you have a treasure to tempt your palate when dealing with puffballs.


DISCLAIMER:  As with all foraged food do not eat anything unless you are 100% sure what it is.  This is especially true with mushrooms.  We highly recommend you get some good field guides and take foraging or mushroom classes if available before starting on your foraging journey.  It can be (and is) a highly rewarding experience, but caution must be exercised for safety reasons.

Wednesday, October 16, 2013

Basic Fermenting for beginners

WE FERMENT!  Indeed we do.  We make cheese, yogurt, beer, wine and bread as well as some experiments with citrus enzyme cleaners.  We have (or will soon have) posts concerning all of these ferments, but wanted to expand on our sauerkraut recipe we wrote about last year (see post).  We have made several batches of sauerkraut over the past year with cabbage only and the kids love it.  Our current batch is made with carrots and turnips (an experiment) so stay tuned as we should be posting in a couple of weeks about our results.  For now we wanted to share the basic methodology.


Our basic Kraut / vegetable fermentation method:

Placed in refrigerator after reaching desired flavor
Shredded vegetable:  Root veggies or cabbage or other brassicas.  All vegetables can be mixed according to your availability.  Fill up your container with sliced or shredded veggies.  Cabbage is the traditional vegetable used, but you can easily ferment most brassicas, carrots, rutabagas, turnips, beats or even burdock root.

Whey:  We use whey to fill the liquid portion of the fermentation vessel.  Whey introduces lactobacillus and also helps reduce pH.  Many fermenters simply use water as there are naturally occurring lactobacillus on the outside of most vegetables.  Ever notice that white film on cabbage leaves or the outside of carrots?  On grapes?  Much of that film is composed of microbes ready and willing to turn your fruits and veggies into fermentable goodness.  We add whey only because we have it readily available.  It is not really necessary. 

Vinegar:  Vinegar reduces the pH giving the lactobacillus a boost.  This is also reportedly not necessary according to the master fermenters.  We add it simply out of paranoia and to give the acid loving lactobacillus an advantage over the other microbes.  Caution:  If you decide to use vinegar, do not add too much.  We add about ¼ cup per gallon.  If you add too much, you will pickle your veggies before the lactobacillus can do its job.

Salt (uniodized):  It helps break down cell walls of the veggies.  Iodine in Iodized salt will kill or inhibit lactobacillus growth.  Any non-iodized salt will do.  I have heard of people using sea salt, Kosher salt, Morton salt, etc.  We simply use the cheapest un-iodized store brand we can find.  You can make a brine or you can simply sprinkle salt in as you go.  Some fermenters go so far as to rub salt into the shredded veggies prior to addition.  We are lazy so just sprinkle some in as we go.  Do not overdo it with salt.  We add about 1 tablespoon per gallon.  You can do more (up to 3 TBS per gallon).  If your brine solution is too strong the lactobacillus will not be able to thrive and you will end up with brined (unfermented) veggies.      

Let vegetables ferment for 1-4 weeks.  Vegetable matter must be completely submerged.  The longer they ferment, the softer the kraut and the more sour it will be.  You can check on it every few days to make sure everything is doing OK.  To stop fermentation, place in jars in the refrigerator or boil and can (though boiling will kill the live culture and thus reduce probiotic benefits).  There may be some unpleasant odor initially....this is normal.

References:  We got into vegetable fermentation after attending a Mother Earth News Fair and listening to Dr. Sandor Katz, the proclaimed fermentation guru.  We did our homework through Dr. Katz’s books as well as online.  A quick google search for fermented vegetables will give you a plethora of information.  Click on the links to learn more:

Food safety concerns: (MINIMAL)  Fermented vegetables have very little risk from foodborne illness.  I had originally heard this claim from Sandor Katz, the proclaimed guru of vegetable fermentation, in a lecture at the Mother Earth News Fair.  Being a food safety "professional", I was quite skeptical of this claim.  I researched back 10 years in the Center for Disease Control Database and found no references to fermented vegetables causing food poisoning.  This was quite surprising to me.  I did find several references to fermented meat and dairy causing illness, but none for fermented vegetables.  To me, this speaks volumes as to the safety of eating kraut.  The chemistry behind fermented vegetables is very hostile towards the bad bugs.  In other words, the bacteria that normally cause illness associated with food (botulism, e. coli., salmonella, staph aureus, etc.) are unable to grow at the pH and salinity levels associated with lactobacillus fermentation.  Bottom line, it is very safe!  This is probably the reason that fermentation has been used for centuries as a food preserving method.  It is safe, easy, and inexpensive - not to mention quite tasty and good for you....PROBIOTICS at their finest.  If you are still concerned, a quick boil (5 minutes or less) of your Kraut will kill any microbes.

Please comment with questions or advice.